 Foodofile
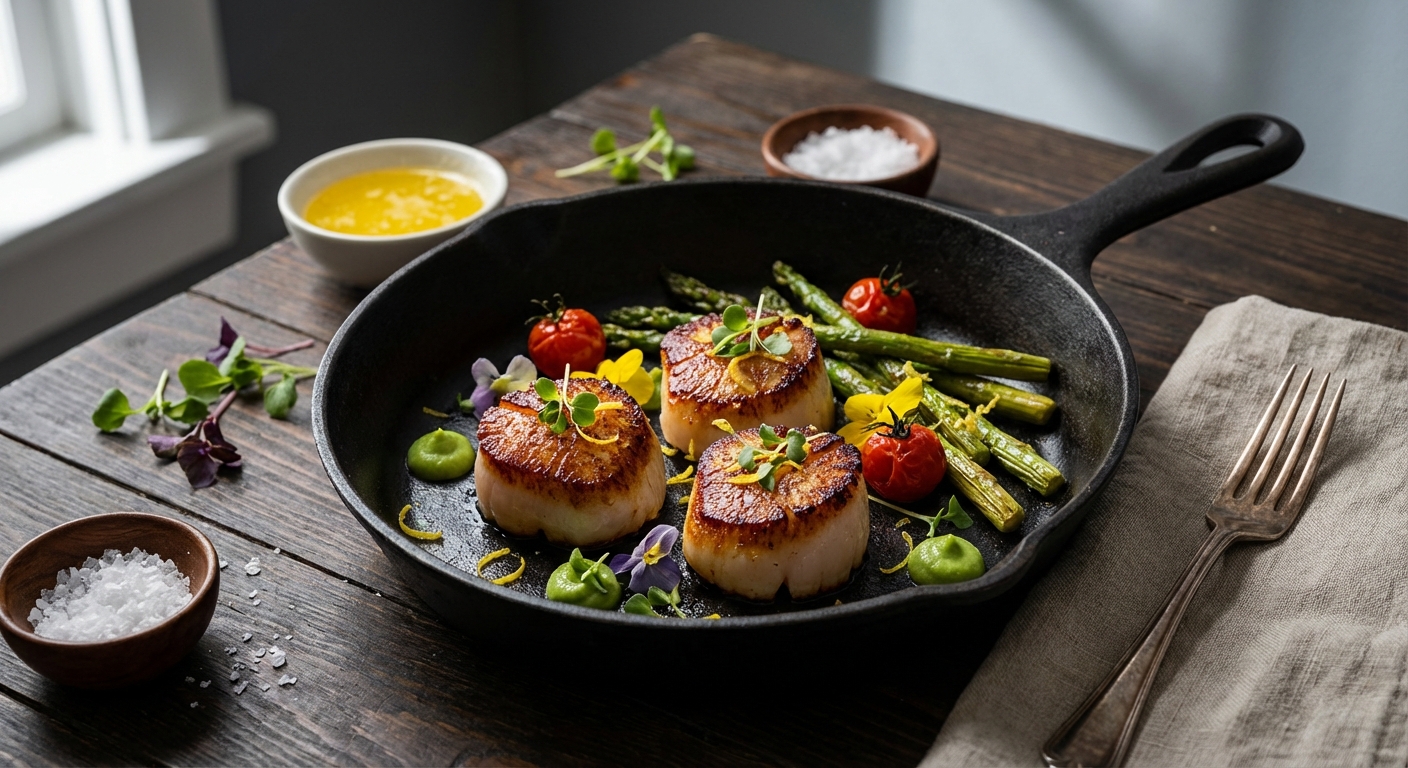
Scallops Scorched Wrong? Avoid Rubber, Get Crust!
You know the disappointment. You spend a fortune on sea scallops, envisioning the golden, caramelized pucks served at high-end steakhouses. You throw them in a pan. Minutes later, you are chewing on white rubber. The crust is nonexistent. The texture is tire-like. The pan is full of cloudy liquid.
It is not your fault. It is chemistry. And it is likely the scallops themselves.
We are going to fix this. Here is how to stop steaming your seafood and start searing it.
The Enemy Is Moisture
To understand the perfect sear, you must understand the Maillard reaction. This is the chemical interaction between amino acids and reducing sugars that gives browned food its distinctive flavor and crust. It happens rapidly at temperatures above 300°F (149°C).
Water boils at 212°F (100°C). As long as there is surface moisture on your scallop, the temperature cannot rise above boiling. You are not searing; you are steaming. You are boiling your expensive protein in its own juices. To get the crust, you must eradicate the moisture.
Wet vs. Dry: The Grocery Store Trap
Most scallops sold in supermarkets are labeled "wet." This means they have been soaked in a solution of sodium tripolyphosphate (STP). This chemical causes the scallop to absorb water—sometimes up to 30% of its weight. You pay for water.
When you heat a wet scallop, that chemical bond breaks. The water floods your pan. The temperature plummets. The scallop steams and turns rubbery. STPs also leave a soapy, chemical aftertaste.
Buy "dry" scallops. These are untreated. They appear creamy, beige, or slightly pink, not bright white. They smell sweet like the ocean, not like chemicals. If you can only find wet scallops, soak them in a quart of water with a quarter-cup of lemon juice and two tablespoons of salt for 30 minutes, then dry thoroughly. It helps, but dry is always better.
The Preparation Protocol
Remove the scallops from the fridge. Find the small, tough muscle on the side (the "foot") and peel it off. It feels like gristle.
Line a plate with paper towels. Place the scallops on top. Cover with more paper towels. Press gently. Let them sit for 10 minutes. If you have time, leave them uncovered in the fridge for an hour to dry out the surface further.
Season with kosher salt and black pepper immediately before they hit the pan. If you salt them too early, the salt will draw moisture to the surface, undoing your drying work.
The Searing Technique
Use a heavy-bottomed pan. Cast iron or stainless steel is best. Non-stick pans often cannot hold the high heat necessary for a deep crust.
Place the pan over medium-high heat. Add a high-smoke-point fat like avocado oil, grapeseed oil, or clarified butter. Do not use regular butter yet; the milk solids will burn before the scallop sears.
Wait until the oil shimmers and just barely starts to smoke. It must be screaming hot.
Place the scallops in the pan. Give them space. If you crowd the pan, the temperature drops, and they steam. Work in batches if necessary.
Do not touch them.
This is the hardest part. You will want to check. Do not. Let them cook undisturbed for exactly two minutes. Watch the bottom edges. You will see a golden brown ring forming.
The Flip and Baste
After two minutes, the scallops should release easily from the pan. If they stick, the crust has not formed yet. Give them another 30 seconds.
Flip them. The seared side should be deep mahogany, not pale gold.
Now, add a tablespoon of unsalted butter to the pan. Throw in a smashed clove of garlic and a sprig of thyme if you feel fancy. Tilt the pan so the melting butter pools at the bottom. Use a spoon to scoop the foaming butter and bathe the scallops continuously. This technique, called arrosé, cooks the center gently while adding flavor.
The Finish Line
Scallops cook fast. They are done when the internal temperature hits 115°F to 125°F (46°C to 52°C). If you do not have a thermometer, press the top. It should feel firm but springy, like the tip of your nose. If it feels hard like your forehead, it is overcooked.
Remove them immediately. Serve them sear-side up. You now have a crust that crunches and a center that melts.
Sources and Further Reading
https://mmm-glug.co.uk/the-role-of-searing-in-developing-gourmet-flavors/
https://hestancue.com/blogs/blog-recipes/the-science-of-searing
https://www.seriouseats.com/what-is-maillard-reaction-cooking-science
https://seaganeating.com/scallops-should-you-buy-wet-or-dry/
https://www.seriouseats.com/the-food-lab-best-seared-scallops-seafood-recipe
https://www.splendidtable.org/story/2016/04/01/why-you-should-cook-with-dry-scallops
https://oceanbox.com/blogs/news/perfectly-seared-scallops-your-guide-to-gourmet-seafood-success
https://www.chowhound.com/1688263/mistakes-cooking-scallops/
Ready to transform your kitchen?
Stop juggling screenshots, bookmarks, and cookbooks. Import recipes from anywhere and build your perfect digital recipe book with Foodofile.
Get Started for Free